

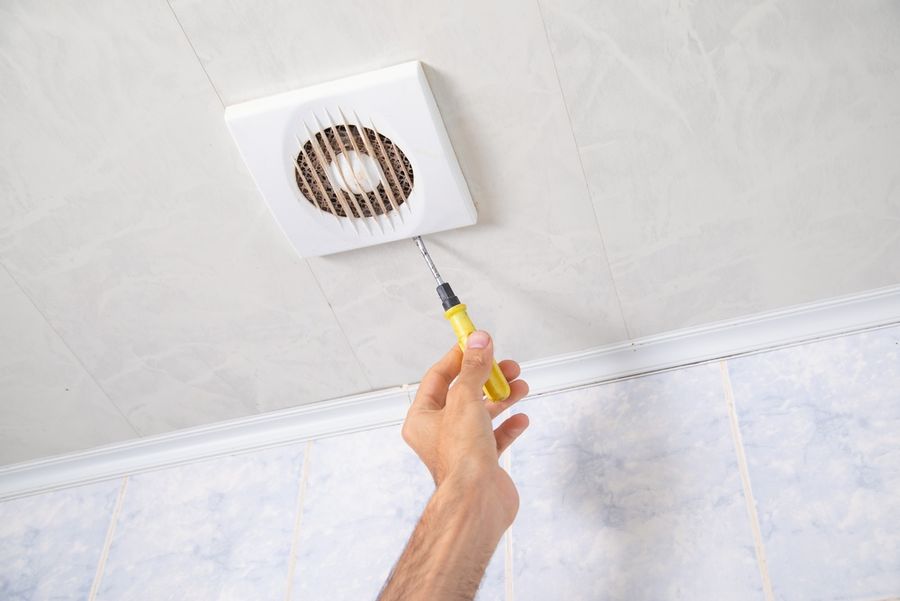
A bathroom exhaust fan can make a noticeable difference in a space that frequently experiences steam, condensation, and lingering odors. By removing humid air, proper ventilation helps reduce moisture buildup that can contribute to peeling paint, mildew, and other problems. However, installing a fan involves more than cutting a hole in the ceiling. Understanding equipment choices, ventilation requirements, electrical work, and installation costs can help homeowners prepare for the project and avoid common mistakes.
Understand What a Bathroom Exhaust Fan Does
Bathroom exhaust fans remove humid indoor air and discharge it outside the house. This helps control moisture that accumulates during showers and baths, particularly in bathrooms with limited natural ventilation. Proper airflow can also reduce persistent odors and help protect painted surfaces, cabinets, and other moisture-sensitive materials.
A working fan is especially valuable in bathrooms where mirrors remain foggy long after showering or moisture repeatedly collects on walls. However, it cannot compensate for existing plumbing leaks or serious water damage. Those problems require separate repairs before ventilation improvements can deliver their full benefits.
Choose the Right Fan Size and Features
Bathroom exhaust fans are rated by the amount of air they move, measured in cubic feet per minute (CFM). For bathrooms measuring between 50 and 100 square feet, a commonly recommended approach is one CFM of ventilation per square foot. Smaller bathrooms generally need at least 50 CFM, while larger bathrooms may require calculations based on individual plumbing fixtures.
Noise is another important consideration. Fan sound levels are measured in sones, with lower ratings indicating quieter operation. When comparing products, look for suitable airflow, low noise levels, and energy-efficient operation. Some models also include built-in lighting, humidity sensors, or automatic timers that improve convenience.
Determine Whether You're Replacing or Adding a Fan
Replacing an existing exhaust fan is often less complicated than installing one where no ventilation system exists. If the current fan already has suitable electrical connections and an exterior duct, the new unit may be able to use portions of that infrastructure.
However, replacement models aren't always compatible with existing ceiling openings or duct sizes. The installer may need to enlarge the opening, modify mounting brackets, or replace outdated ductwork. Even a seemingly straightforward replacement can require additional work when hidden components are damaged.
Installing a completely new fan generally involves more planning. You'll need a suitable ceiling or wall location, electrical connections, and an unobstructed route for exhaust air to reach the exterior. Attic access can make this work easier, while bathrooms beneath finished living spaces may present additional challenges.
Plan the Exterior Ventilation Route
One of the most important installation requirements is ensuring that humid air leaves the building. A bathroom fan must exhaust directly outdoors rather than into an attic, crawlspace, or wall cavity. Sending warm, moist air into enclosed spaces can create condensation problems and damage building materials.
Installers typically route ductwork through an exterior wall or roof, depending on the home's layout. The duct should follow a reasonably short, direct path with minimal bends, allowing air to move efficiently. Its diameter must also match the fan manufacturer's requirements.
Where ductwork passes through an unconditioned attic, insulation may be needed to limit condensation. Exterior vent openings require suitable weather protection, and roof penetrations must be flashed correctly to prevent leaks. These details can make professional installation worthwhile, particularly when roofing modifications are necessary.
Prepare for Electrical Work and Installation
Before installation begins, the existing electrical system needs to be evaluated. A replacement fan may connect to existing wiring, while a new installation could require additional cable, switches, or circuit modifications. Local electrical codes and manufacturer instructions determine the appropriate arrangements.
Any work involving wiring should be performed with the relevant circuit safely de-energized. Homeowners unfamiliar with electrical installations should hire a qualified electrician rather than attempting connections themselves. Fans located above bathtubs or showers may also have specific product ratings and electrical protection requirements.
During installation, the contractor typically positions the housing, secures it to the ceiling structure, connects the duct, completes the electrical work, and installs the decorative grille. The housing should also be sealed around its ceiling opening to reduce unwanted air leakage.
Understand Costs, Permits, and Installation Challenges
The cost of installing a bathroom exhaust fan depends on whether it's a replacement or new installation, the fan's features, and the amount of electrical and ductwork required. Adding exterior ventilation or modifying a roof generally creates more work than replacing a compatible existing unit.
Instead of relying on a broad national price estimate, request itemized quotes covering the fan, labor, wiring, ducting, exterior vent, and finishing repairs. Ask whether permits and inspections are included. Requirements vary by municipality, and some projects involving new wiring or ventilation ducts require approvals.
Unexpected expenses may arise if installers discover damaged insulation, inaccessible framing, or unsuitable existing ductwork. A written estimate that identifies possible additional work can help homeowners prepare financially.
Test the Fan and Maintain Its Performance
After installation, confirm that the fan operates smoothly, removes air effectively, and doesn't produce excessive vibration. Check that its exterior vent opens properly and that no unusual rattling occurs. Persistent humidity after showers may indicate inadequate airflow or an installation problem.
Keeping the fan clean also matters. Dust can accumulate on the grille and internal components, gradually reducing performance. Follow the manufacturer's cleaning instructions and inspect accessible exterior vents for obstructions.
A timer or humidity-sensing control can help ensure the fan operates long enough to remove moisture after bathing without requiring constant attention.
Make Bathroom Ventilation a Worthwhile Improvement
Installing a bathroom exhaust fan can improve comfort, control humidity, and help protect moisture-sensitive surfaces. Choosing the correct fan capacity, providing a proper exterior exhaust route, and ensuring safe electrical installation are essential to a successful project.
Before beginning, determine whether your existing infrastructure can accommodate a replacement or whether a completely new installation is necessary. Compare equipment features, understand the likely construction work, and obtain professional assistance when needed. With proper installation and routine maintenance, a bathroom exhaust fan can provide reliable ventilation for years.