

Drafts around exterior doors can make your home uncomfortable, especially during colder months when heated indoor air escapes through small gaps. Fortunately, weatherstripping offers a practical way to seal small openings without replacing the entire door. With the right materials, basic tools, and careful installation, many homeowners can complete the job themselves. Understanding how to identify air leaks, choose suitable weatherstripping, and install it correctly can help improve indoor comfort and reduce unnecessary energy waste.
Identify Where Air Is Escaping
Before purchasing weatherstripping, inspect the door to determine where drafts originate. Common trouble spots include the top and sides of the door frame, the bottom threshold, and areas where existing seals have become damaged or compressed. On a bright day, visible light around a closed door can indicate gaps that need attention.
Run your hand carefully along the door's perimeter to feel for moving air, particularly during windy weather. Examine existing seals for cracks, loose sections, or flattened material. Also check whether the door sits evenly within its frame. Loose hinges or misaligned hardware can create gaps that weatherstripping alone may not resolve.
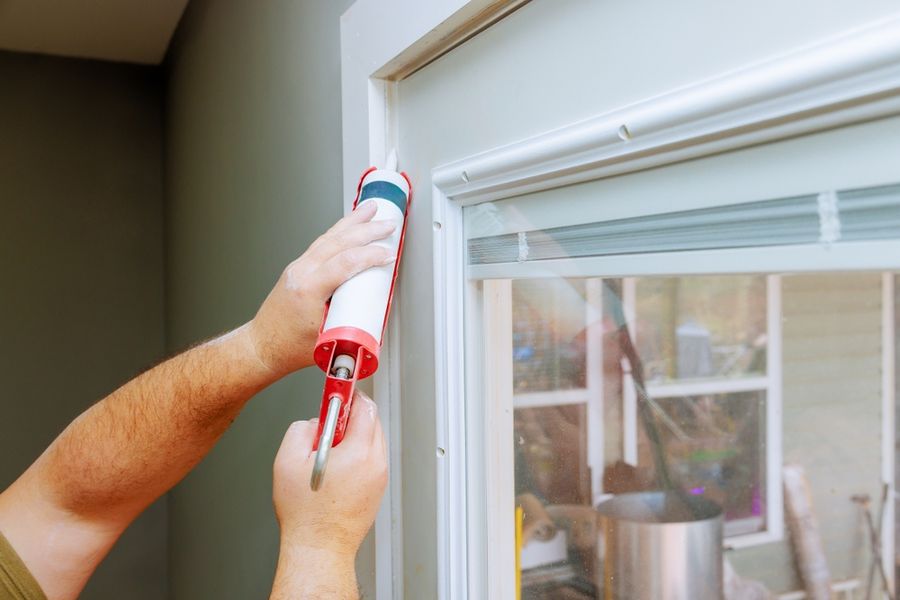
The distinction between weatherstripping and caulking matters. Weatherstripping seals movable parts, while caulk is generally used around stationary joints. Choosing the appropriate material prevents ineffective repairs.
Choose the Right Weatherstripping Material
Several types of weatherstripping are available, each suited to different door designs and gap sizes. Adhesive-backed foam tape is convenient for beginners because it can be cut with scissors and installed without drilling. However, inexpensive foam can compress or deteriorate with repeated use.
Rubber and silicone seals offer flexible alternatives for frequently opened doors. V-strip weatherstripping, commonly made from vinyl or metal, uses a folded shape to maintain contact between surfaces. Some modern exterior doors also feature grooves designed for replacement compression seals.
When comparing weatherstripping materials, consider durability, installation requirements, and the size of the opening. Choose material thick enough to seal the gap without making the door difficult to close. Check your existing door construction before purchasing replacements.
Gather Your Tools and Prepare the Door
Most straightforward weatherstripping projects require a measuring tape, scissors or utility knife, cleaning cloth, and suitable replacement seals. Screw-mounted systems may also require a drill, screwdriver, and appropriate fasteners.
Begin by removing damaged weatherstripping. Adhesive-backed material can often be peeled away, although stubborn residue may require a suitable adhesive remover. Follow the cleaner's instructions and test delicate finishes before applying chemicals.
Next, thoroughly clean the surfaces where the new material will attach. Remove dust, grease, and loose paint, then allow everything to dry completely. Adhesive strips may fail prematurely when applied to dirty or damp surfaces.
Before continuing, tighten loose hinges and confirm that the door closes properly. Correcting alignment problems first makes it easier to achieve an even seal without unnecessarily thick weatherstripping.
Measure and Install Weatherstripping Around the Frame
Accurate measurements help prevent gaps between adjoining strips. Measure both vertical sides of the door frame and the horizontal section across the top. Record each dimension separately, since older door frames may not be perfectly square.
For adhesive-backed foam, cut the material to the required lengths. With the door open, position the first strip on the doorstop where the closed door will compress it. Peel away a small section of backing, press the strip firmly into place, and continue along the frame without stretching the material.
Repeat the process along the remaining sides, keeping adjoining ends close together. If you're using a screw-mounted compression seal, follow the manufacturer's fastening instructions and check its positioning before tightening everything.
Proper exterior door weatherstripping installation requires continuous contact around the opening while allowing the door to operate normally. Close the door gently after installation to check the fit.
Install a Door Sweep Along the Bottom
Weatherstripping around the frame won't eliminate drafts entering beneath the door. A door sweep closes this lower opening by creating contact between the bottom of the door and its threshold.
Measure the door's width and select a sweep designed for its construction. Common options include flexible vinyl blades, brush-style seals, and adjustable metal-backed sweeps. Some attach with adhesive, while others require screws.
For a screw-mounted door sweep, hold the product against the lower interior face of the door, positioning its flexible edge to lightly contact the threshold. Mark the mounting holes, drill pilot holes if necessary, and secure the sweep according to its instructions.
Open and close the door several times afterward. The sweep should reduce airflow without scraping excessively, catching on flooring, or preventing the door from latching. Adjust its position if needed, and avoid blocking drainage openings built into the threshold.
Test the Seal and Maintain Your Weatherstripping
Once everything is installed, close the door and inspect its perimeter. Look for visible gaps and check whether the latch engages smoothly. A simple paper test can help identify weak contact: close the door on a sheet of paper at several locations and gently pull. Areas where the paper slides out with almost no resistance may need adjustment.
Inspect the weatherstripping periodically, especially after seasonal temperature changes. Replace torn sections, reattach loose strips, and keep seals clean. Repeated compression and exposure to weather can gradually reduce their effectiveness.
Keep Your Home Comfortable With Proper Door Sealing
Installing weatherstripping is a manageable home improvement that can reduce unwanted drafts and make indoor temperatures more comfortable. Success depends on identifying leaks, choosing compatible materials, preparing surfaces carefully, and ensuring the finished door still operates correctly.
Start with the draftiest exterior door and assess the results before tackling other openings. With proper installation and occasional maintenance, weatherstripping can provide lasting comfort improvements without requiring a costly door replacement.